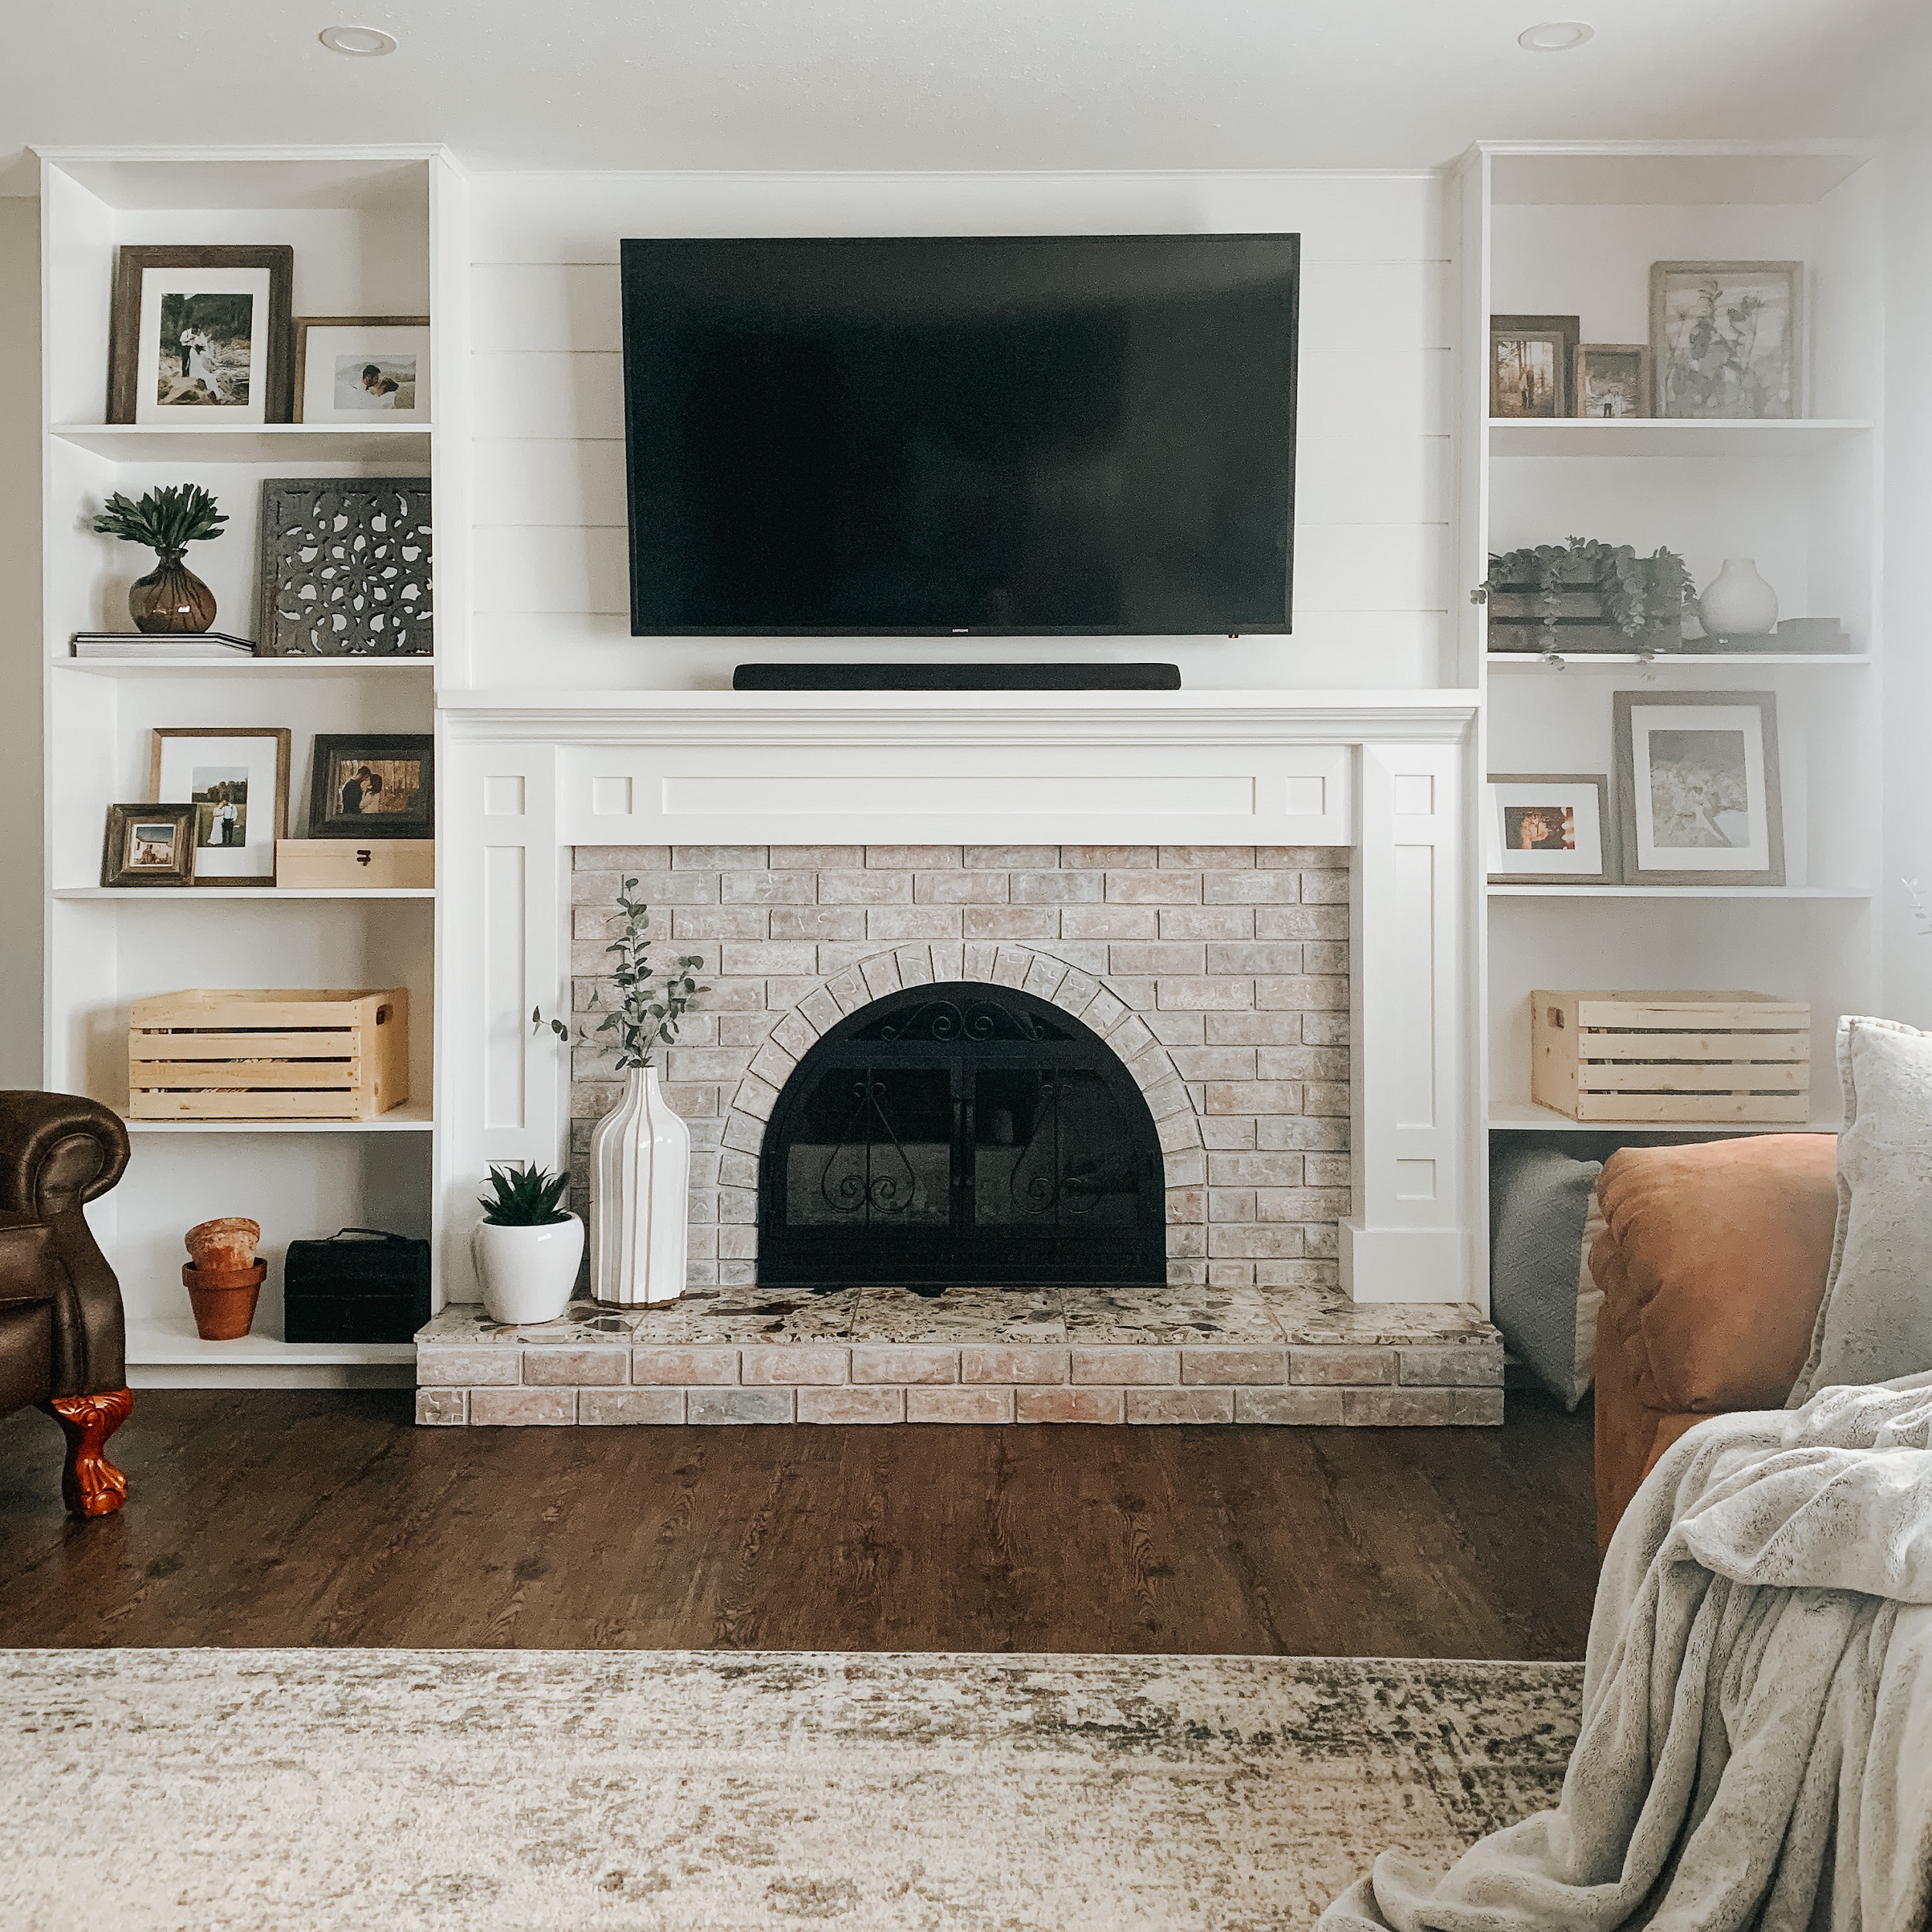
Our fireplace upgrade definitely is the focal point of our living space and I love how it turned out. When we looked at the house for the first time I was so exited that it had a brick fireplace. I love brick and I was so excited to see what I could do once we got our hands on it!

The plan
- Whitewash the brick
- Built-in shelving on either side
- Build a mantle
- Mount the TV above the fireplace
- Shiplap behind the TV
- No visible cords!
- Replace wood burning with a gas insert (we didn’t end up doing this and just painted what was there already)
The challenges
- The fireplace wasn’t centered in the room
- Our TV had to go over the fireplace since it was literally the only spot we had for it after removing all of the interior walls
- No power to the fireplace for the TV
- How to hide all the cords
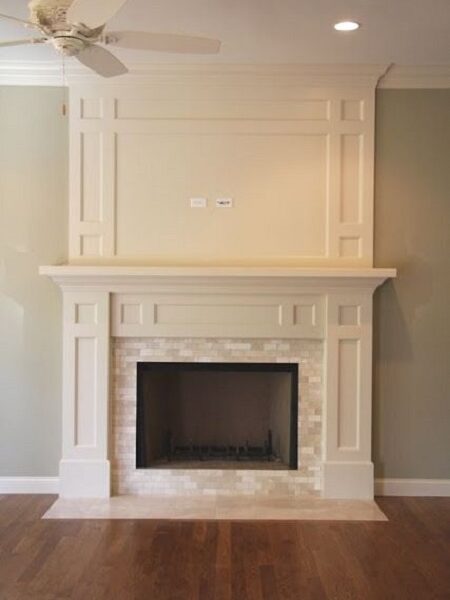
Inspiration photos
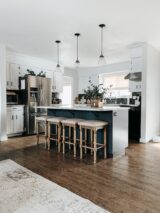
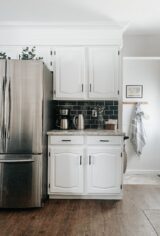
Of course when designing the space, the first thing I did was go to pinterest for some inspiration! Below are the two photos we used. I loved the white washed brick in the first photo and the mantle design in the second.
The renovation
First thing my husband did was run power and data to the fireplace. He’s an electrician so he could do this all himself which saved us a lot of money!
The fireplace had a set back center so the power/cables could all stay hidden back there once we covered everything up. Otherwise we would’ve had to build everything out.
Next we anchored plywood to the brick with concrete screws in the shape of the mantle. We also filled in the lower half of the set back in the center with 2×4’s in the approximate area the TV mount would go so TV weight would never be an issue.
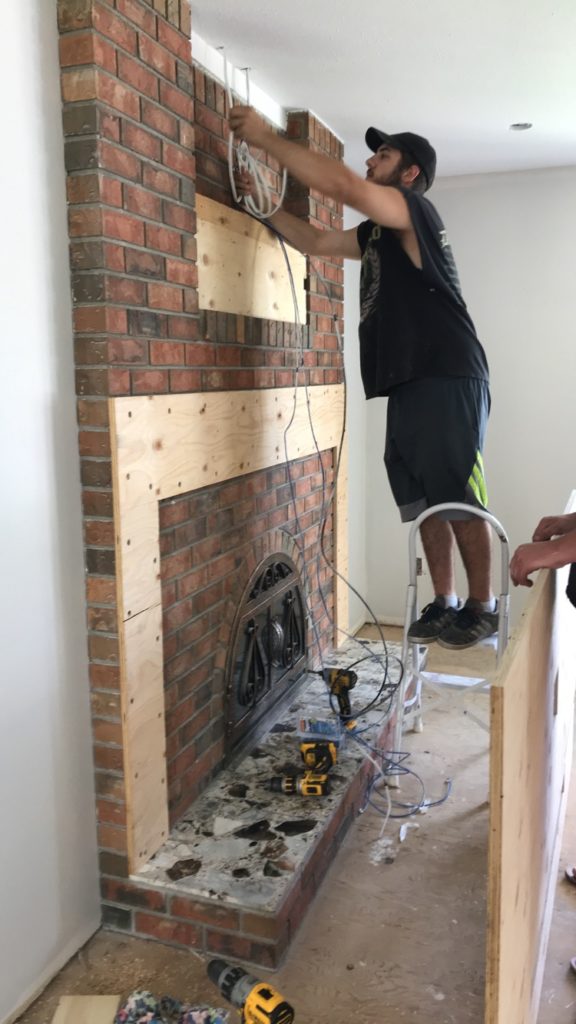
Next we anchored a piece of plywood on the top half of the fireplace and left the hole for the electrical outlet to go.
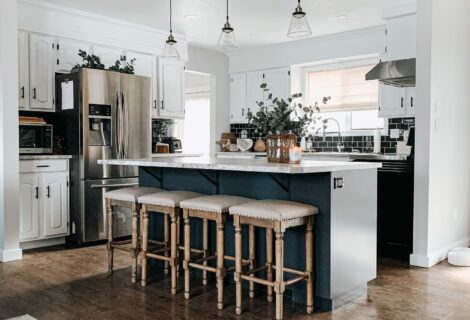
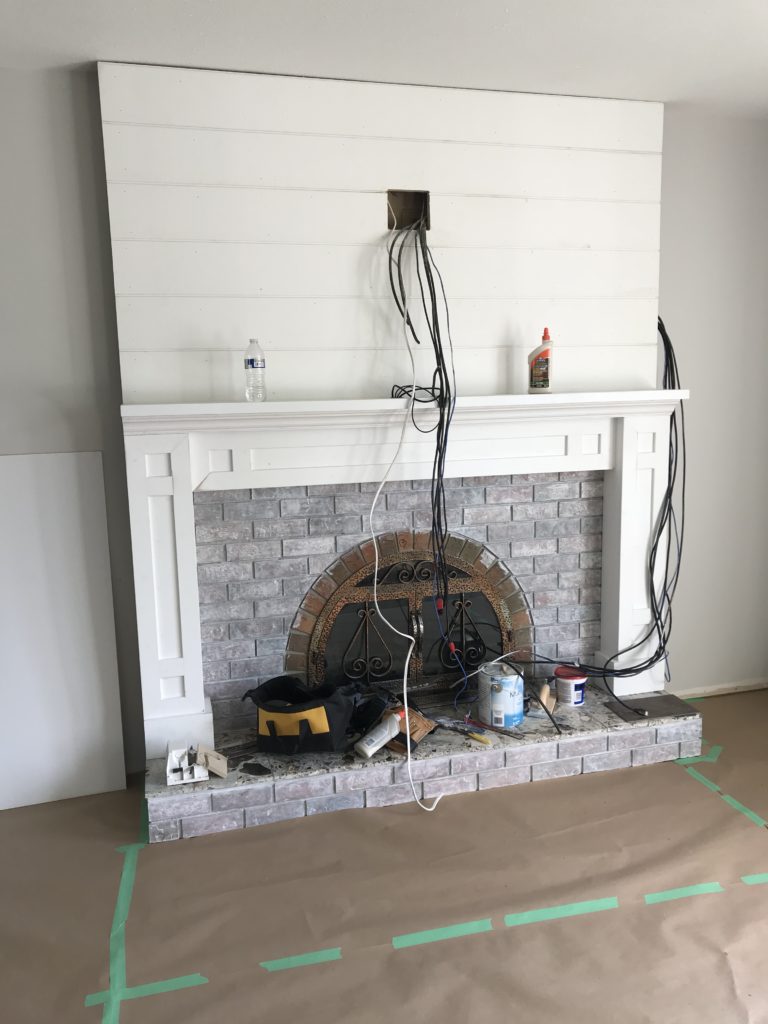
We then framed out the mantle with 2×4’s and covered it with trim to get the design we wanted. We added baseboard to the bottom and a piece of crown molding under the mantle shelf to tie it in with our kitchen.
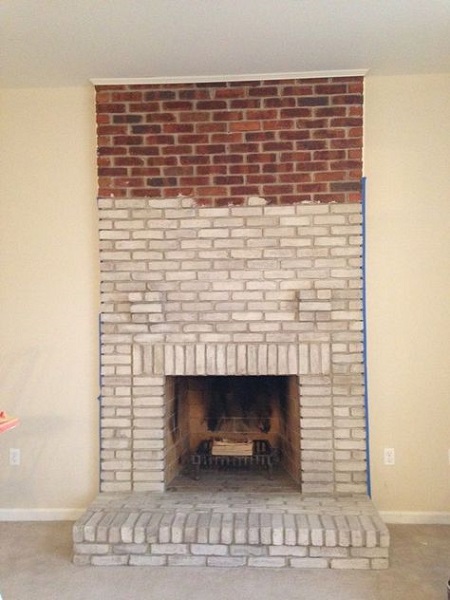
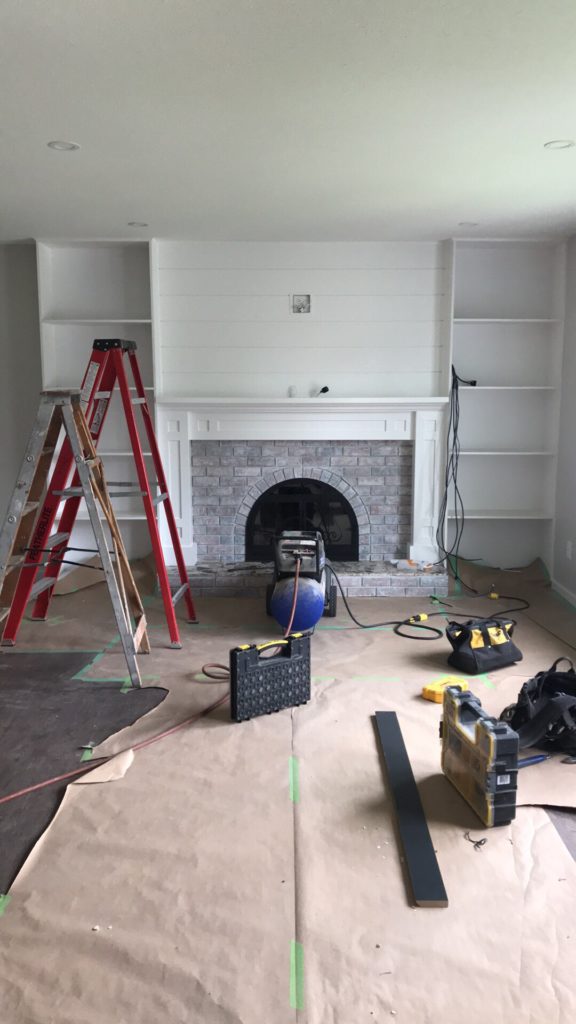
Then we white washed the brick with a 50/50 mixture of white paint and water. As you can see we didn’t do the rounded part of the brick because like I mentioned, we were going to add a gas insert. Later we changed our minds since everyone who came to the house said how much they loved the rounded fireplace opening so we decided to leave it knowing we could always change it later if we ever wanted to.
We don’t have it pictured, but we added some vertical strips of wood over the plywood to nail the shiplap to. Also, we left a little tunnel for the wires/cords to run out the side.
We then built MDF shelves to go on either side and added a thin piece of crown molding to the top to seal all the cracks.
My husband put in the outlet and left power coming up out of the mantle for a sound bar to plug into.
Here you can also see we spray painted the fireplace hardware with black heat rated spray paint.
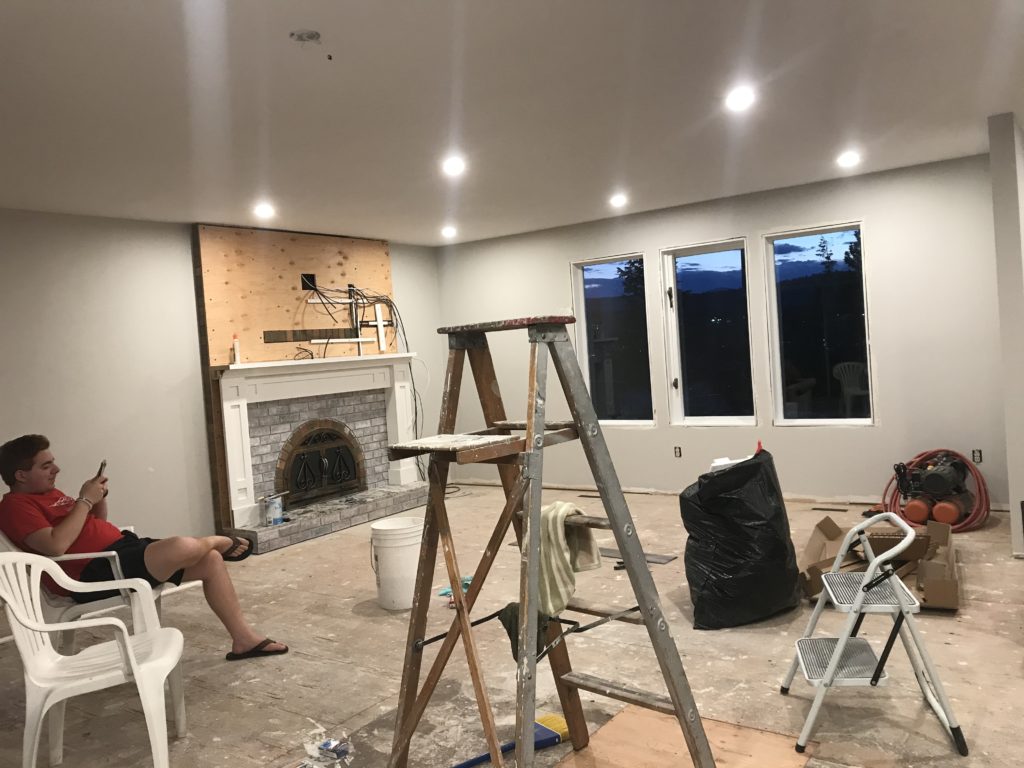
I’ll also mention that since the fireplace wasn’t centered in the room originally, we centered the pot lights with the fireplace and made the built-ins the same size on each side to make everything appear centered even though it isn’t
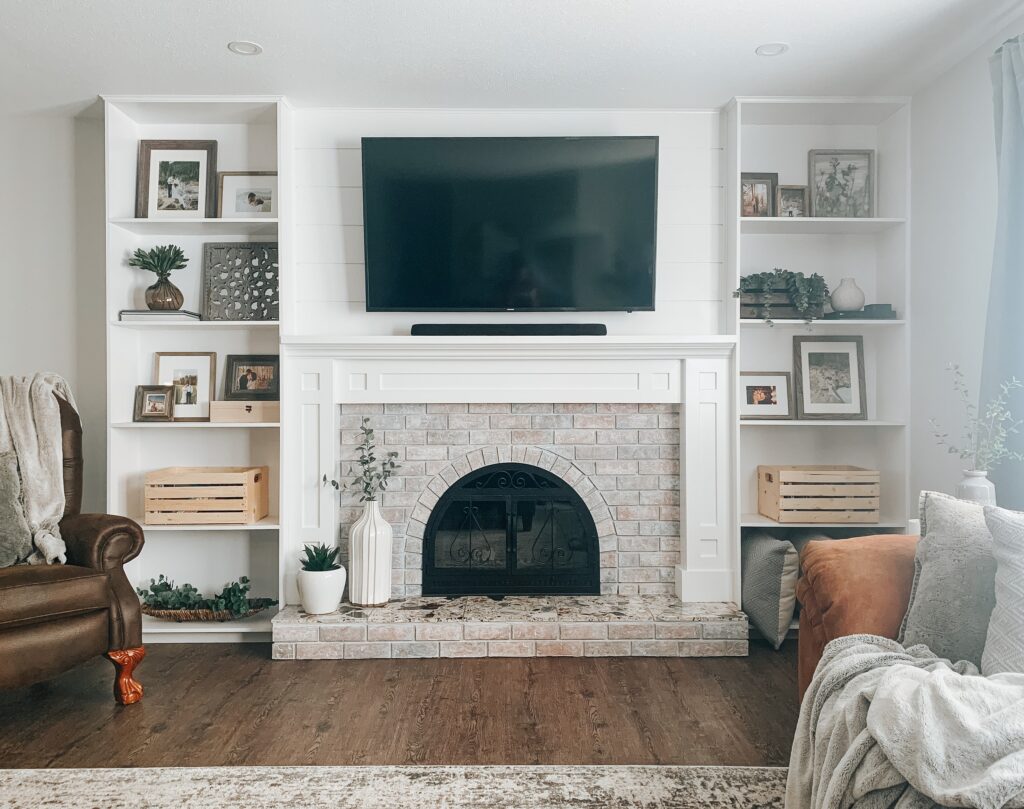
I hid all the cords and our modem for the internet in the dark brown crate on the right side. Overall, I think the fireplace turned out so good!
A tip for installing flooring around a brick fireplace: Make sure the flooring you’re using is able to slide under the brick. It gives it such a seamless look rather than just butting the flooring up to the brick. We had to grind away a bit of the mortar to make room for the flooring to slide under but it was so worth it!
The final product