When it came to renovating our kitchen, I couldn’t find myself to replace the existing cabinets for a few reasons. First was budget, we had to stretch our money as far as we could and replacing the cabinets would have been such a huge chunk of our tiny budget. Secondly, we weren’t changing the footprint of the kitchen so it didn’t make much sense to replace what was already there. Third, and most importantly, our cabinets are solid oak. I really didn’t want to remove solid wood cabinets for MDF.
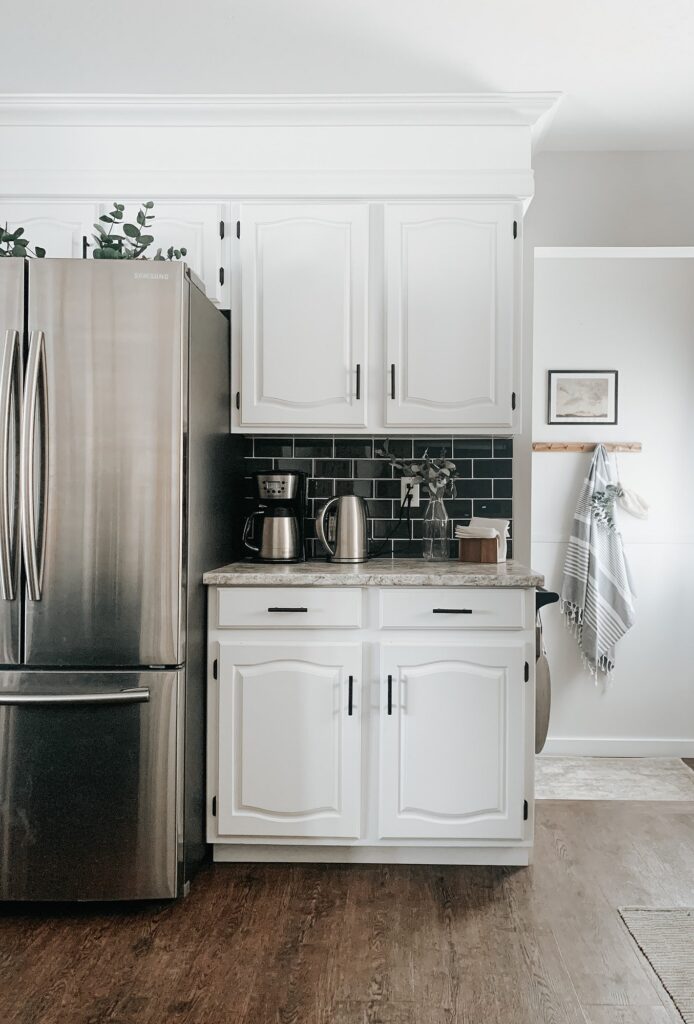
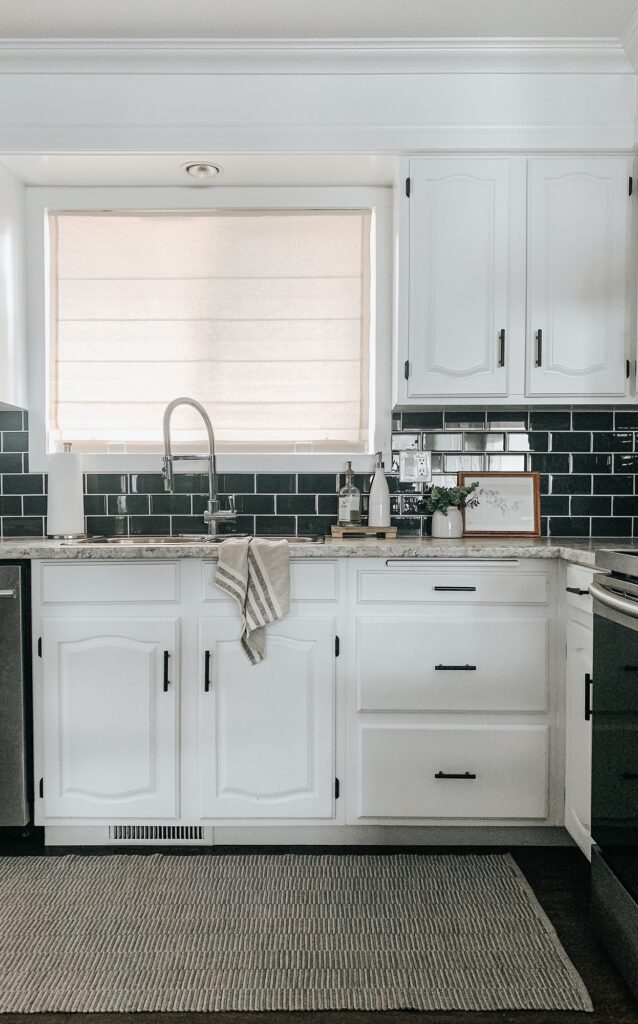
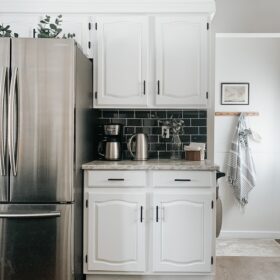
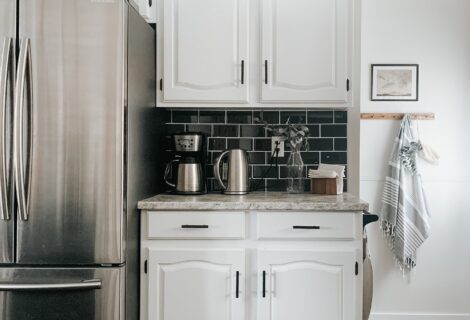
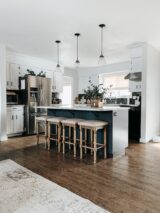
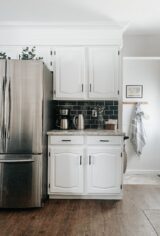
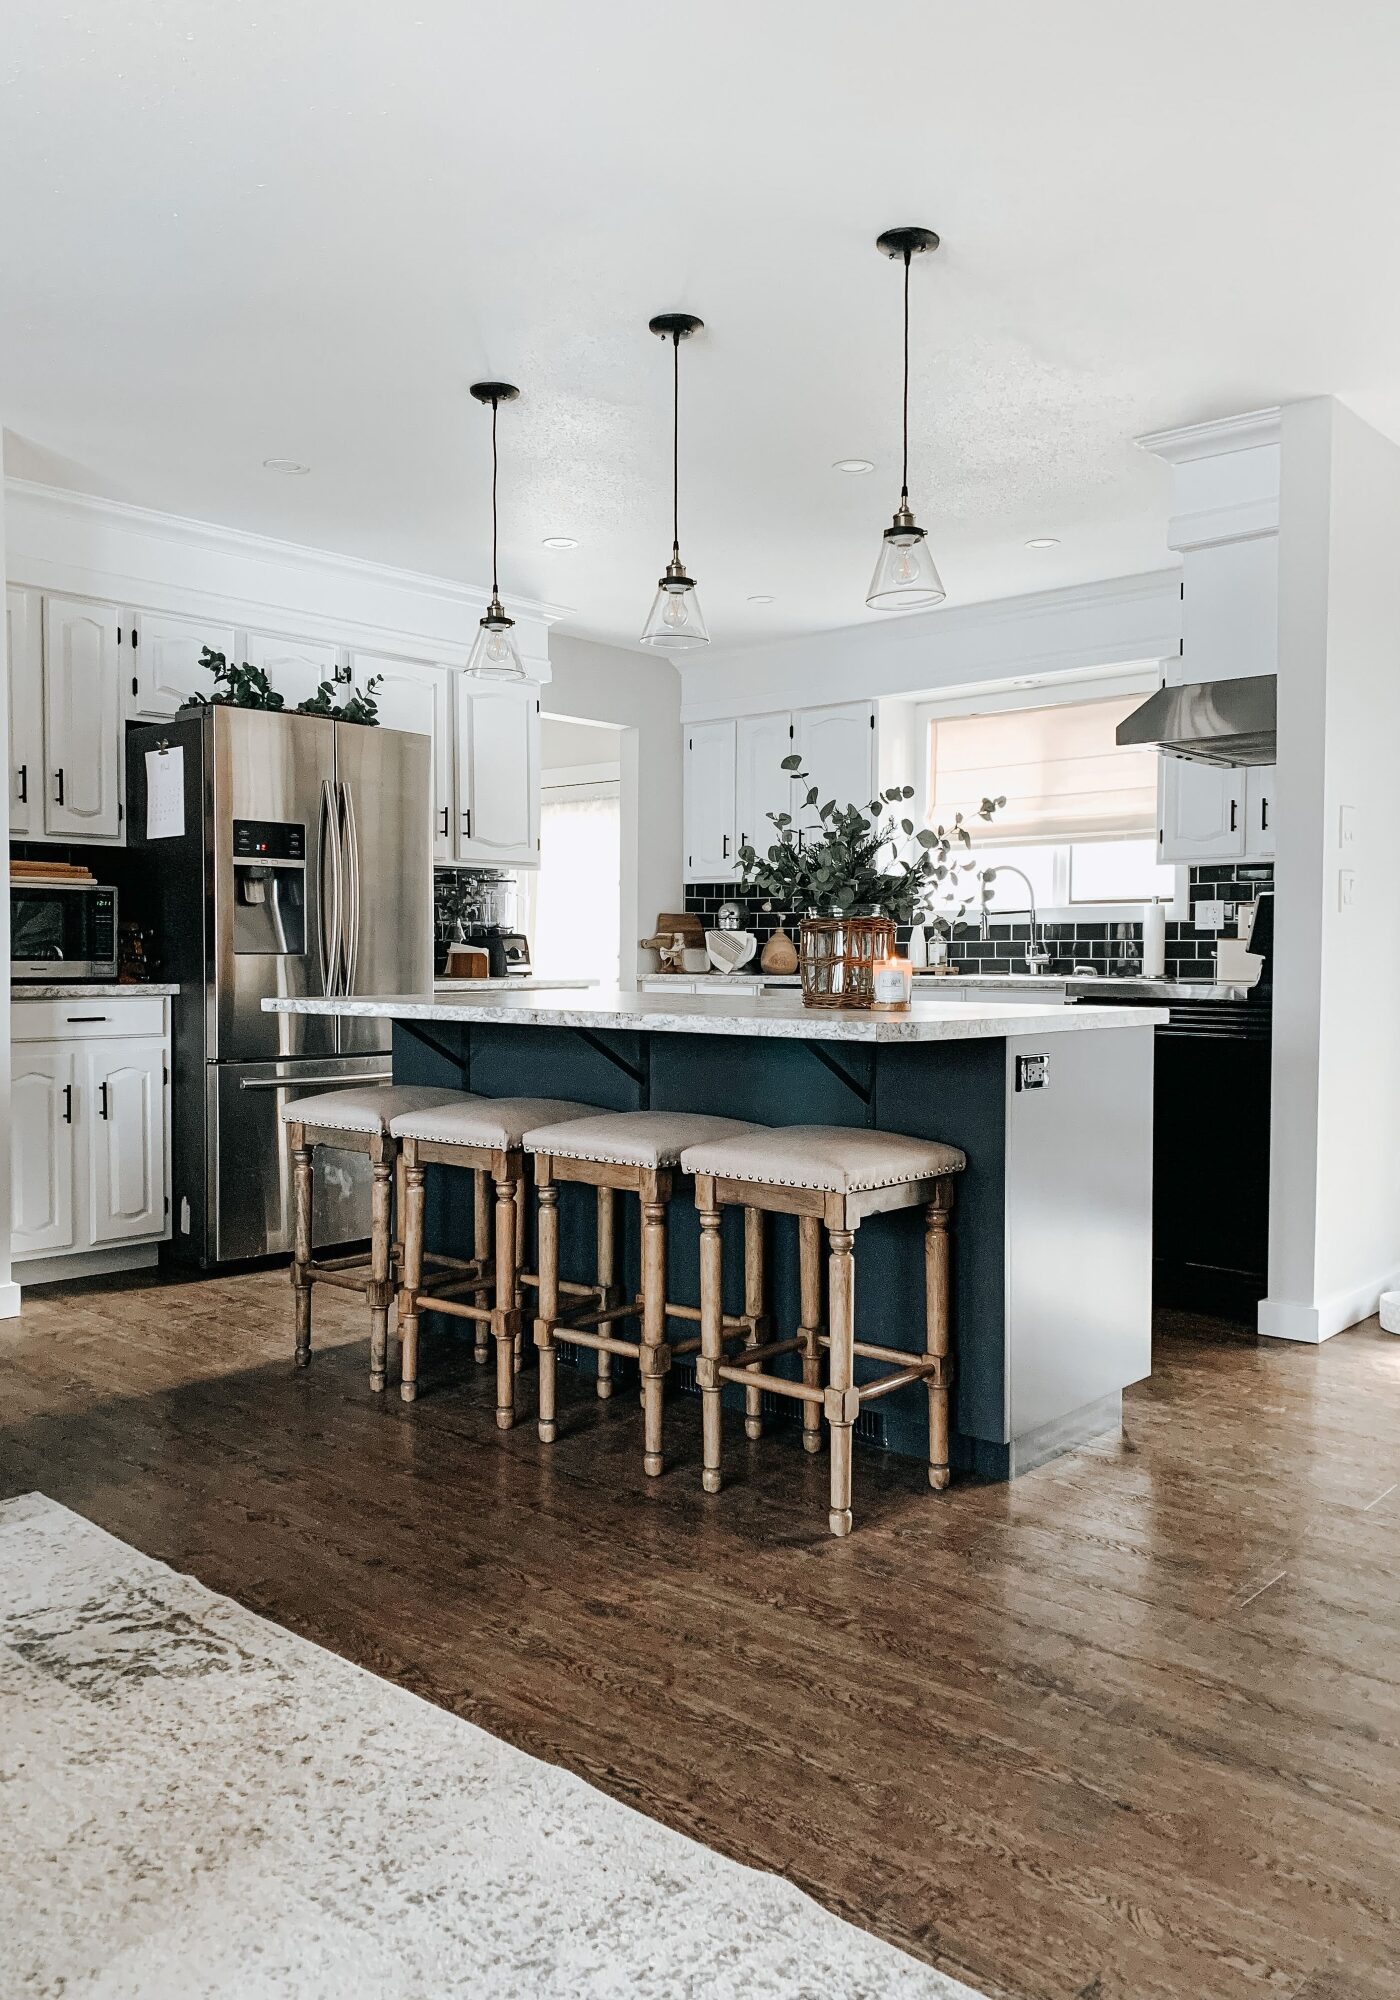
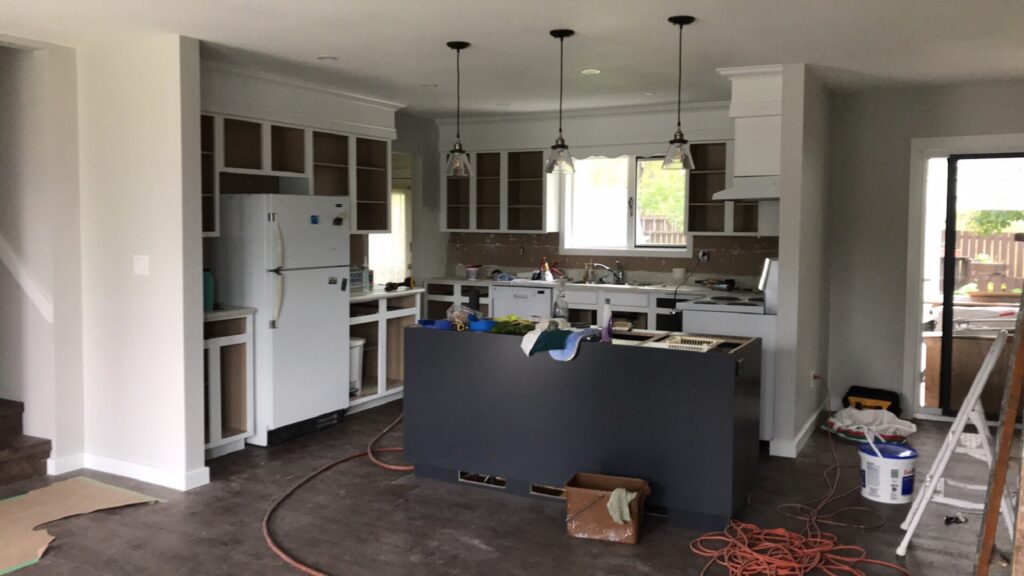
The solution was to paint the cabinets. Cost effective and HUGE impact! Since our house is small and we removed walls to open everything up, white was the easy colour choice to keep things feeling bright and open!
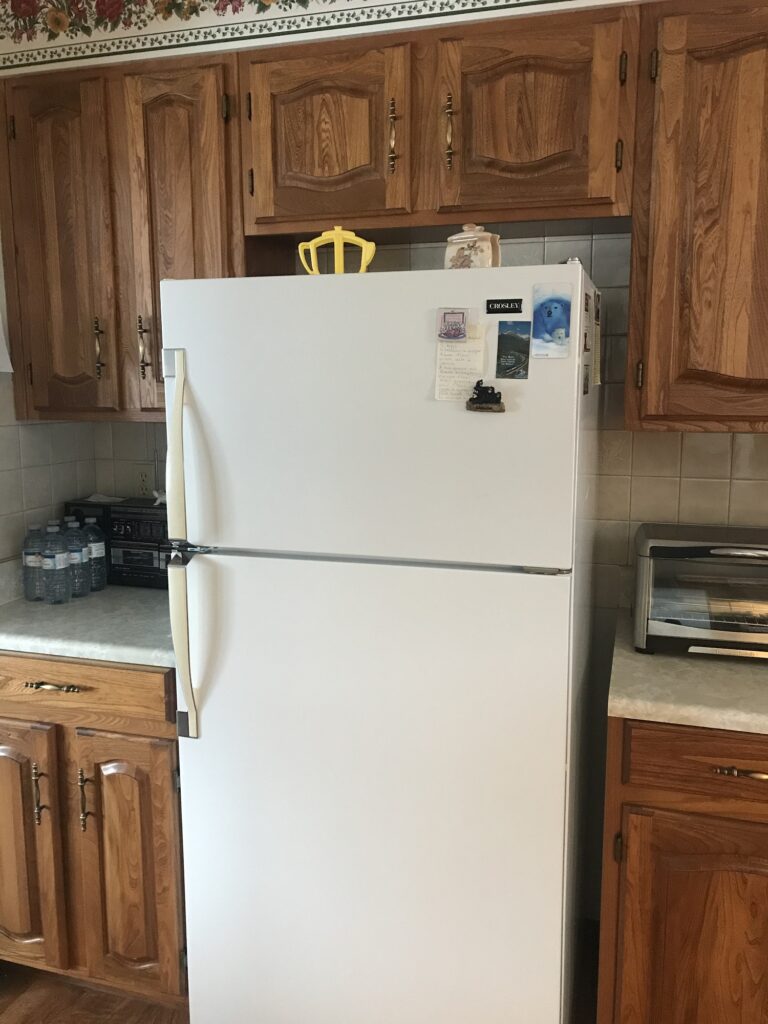
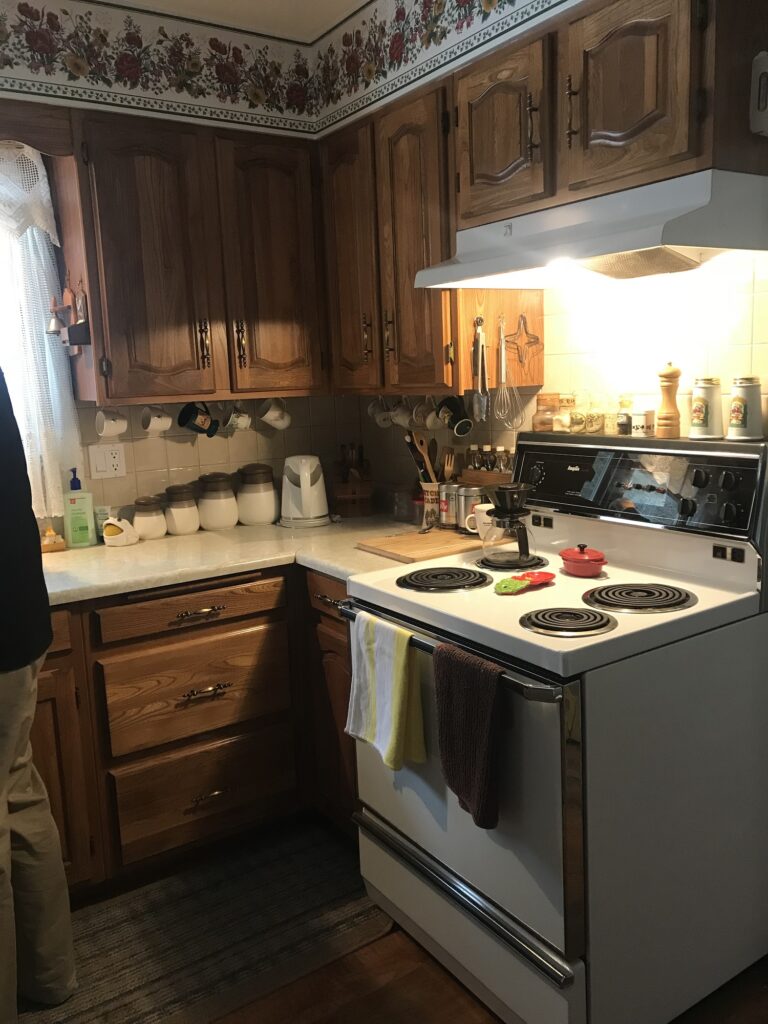
We don’t have many photos of the process since H&C didn’t exist back then, but I’ll show you guys all the photos we do have and try to explain the best I can!
what we did
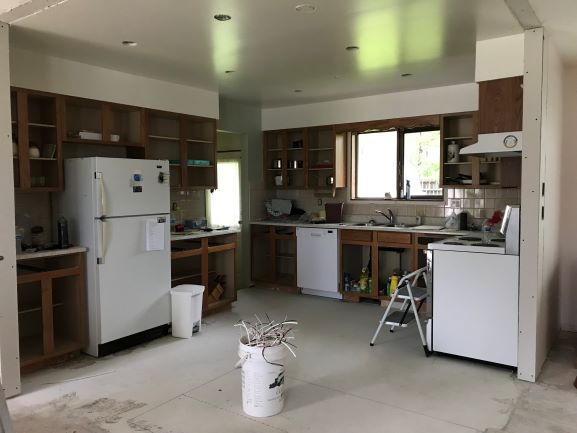
1. We took off all the cabinet doors and removed the hardware.
2. Cleaned the heck out of the cabinets and doors. This is the worst but the most important part by far! If your cabinets aren’t clean the paint will not stick.
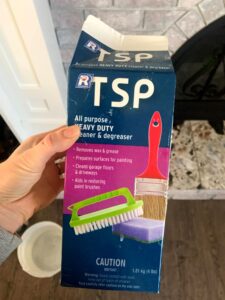
We used this tsp cleaner as directed on the box. I always use this stuff for paint prep, it works great! Just make sure you wear gloves! The cabinet doors near the stove were so greasy we had to go over them multiple times and actually scrape the grease off until they were smooth to the touch. Sticky = greasy! The tsp will draw the grease out from within the cabinet so even if you sand them down and remove the surface grease in the process, there is still grease soaked into the wood. That’s why its so important to clean them well.
We kept the hinges and just spray painted them so I soaked them in a baking soda and vinegar mixture to remove dust and grime. Then went on to scrub them with tsp as well. Once they were clean, we sprayed them with a matte finish black spray paint and they’ve held up amazing.
3. Once the cabinets and doors were all clean and dry, we gave them a very light sand with a sanding sponge. Not to remove the stain, but just to rough them up so the primer would adhere better.
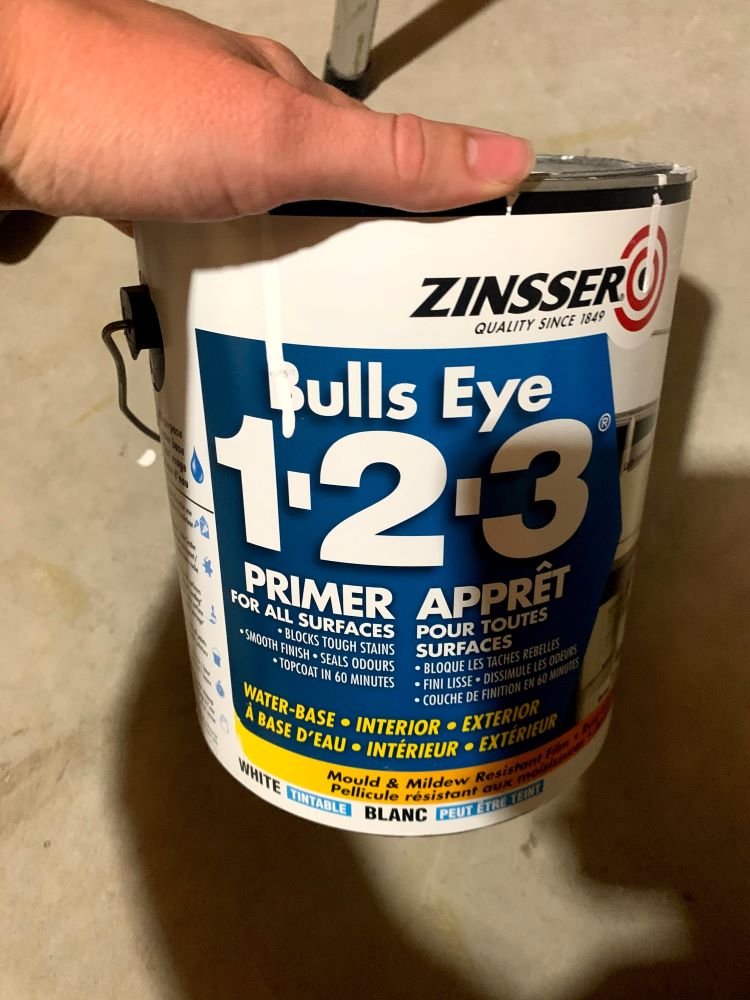
4. Next was primer. We used bulls eye primer and ended up doing 3 coats. For application, the cabinet doors we used a paint sprayer and the cabinets themselves we rolled. Between primer layers, we went in and filled any small imperfections and sanded smooth before the next layers of primer. This way when we went to paint, everything was smooth, covered and ready! If there are any very visible imperfections, fill or repair before priming. We just found once the white primer went on, all the little imperfections/nail holes/cracks that we couldn’t see before became super visible.
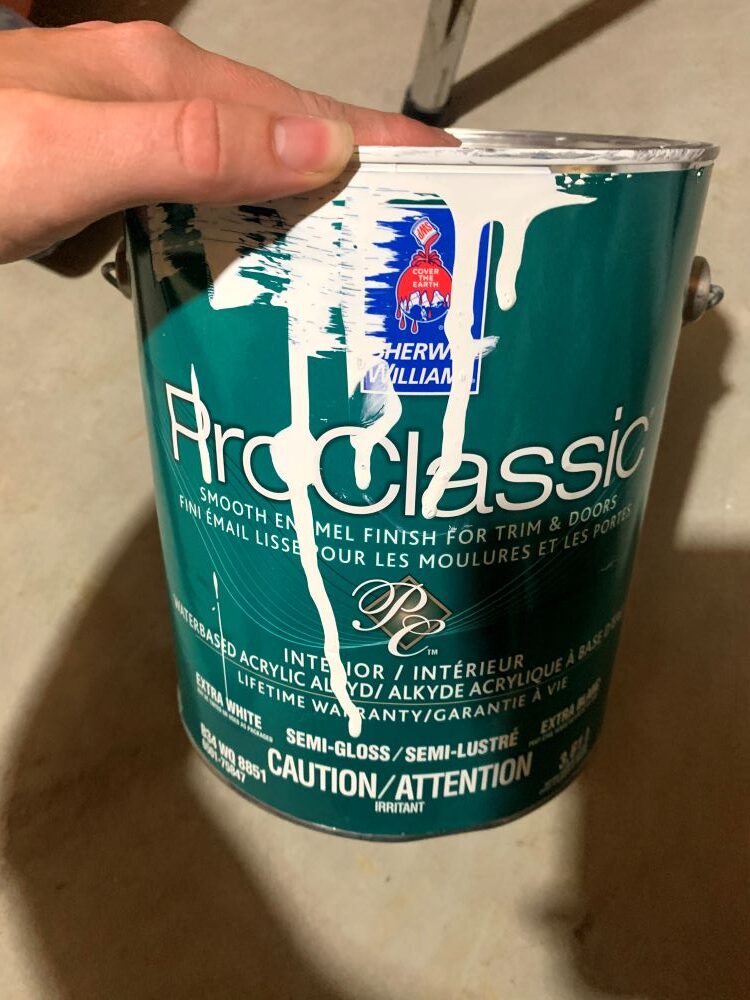
5. We then did 2 coats of paint the same way, sprayed the doors and rolled the cabinets. The finish of the paint prayer is way better than the roller in terms of a smooth, professional look. But, they’ve held up equal and you really only notice up close so if you don’t have a paint sprayer, no big deal! The finish of the sprayer will be smooth and the roller will have some texture to it, just like a wall.
And that’s it for painting cabinets! Cheap, fairly easy, and makes such a huge difference!!
other changes to our kitchen
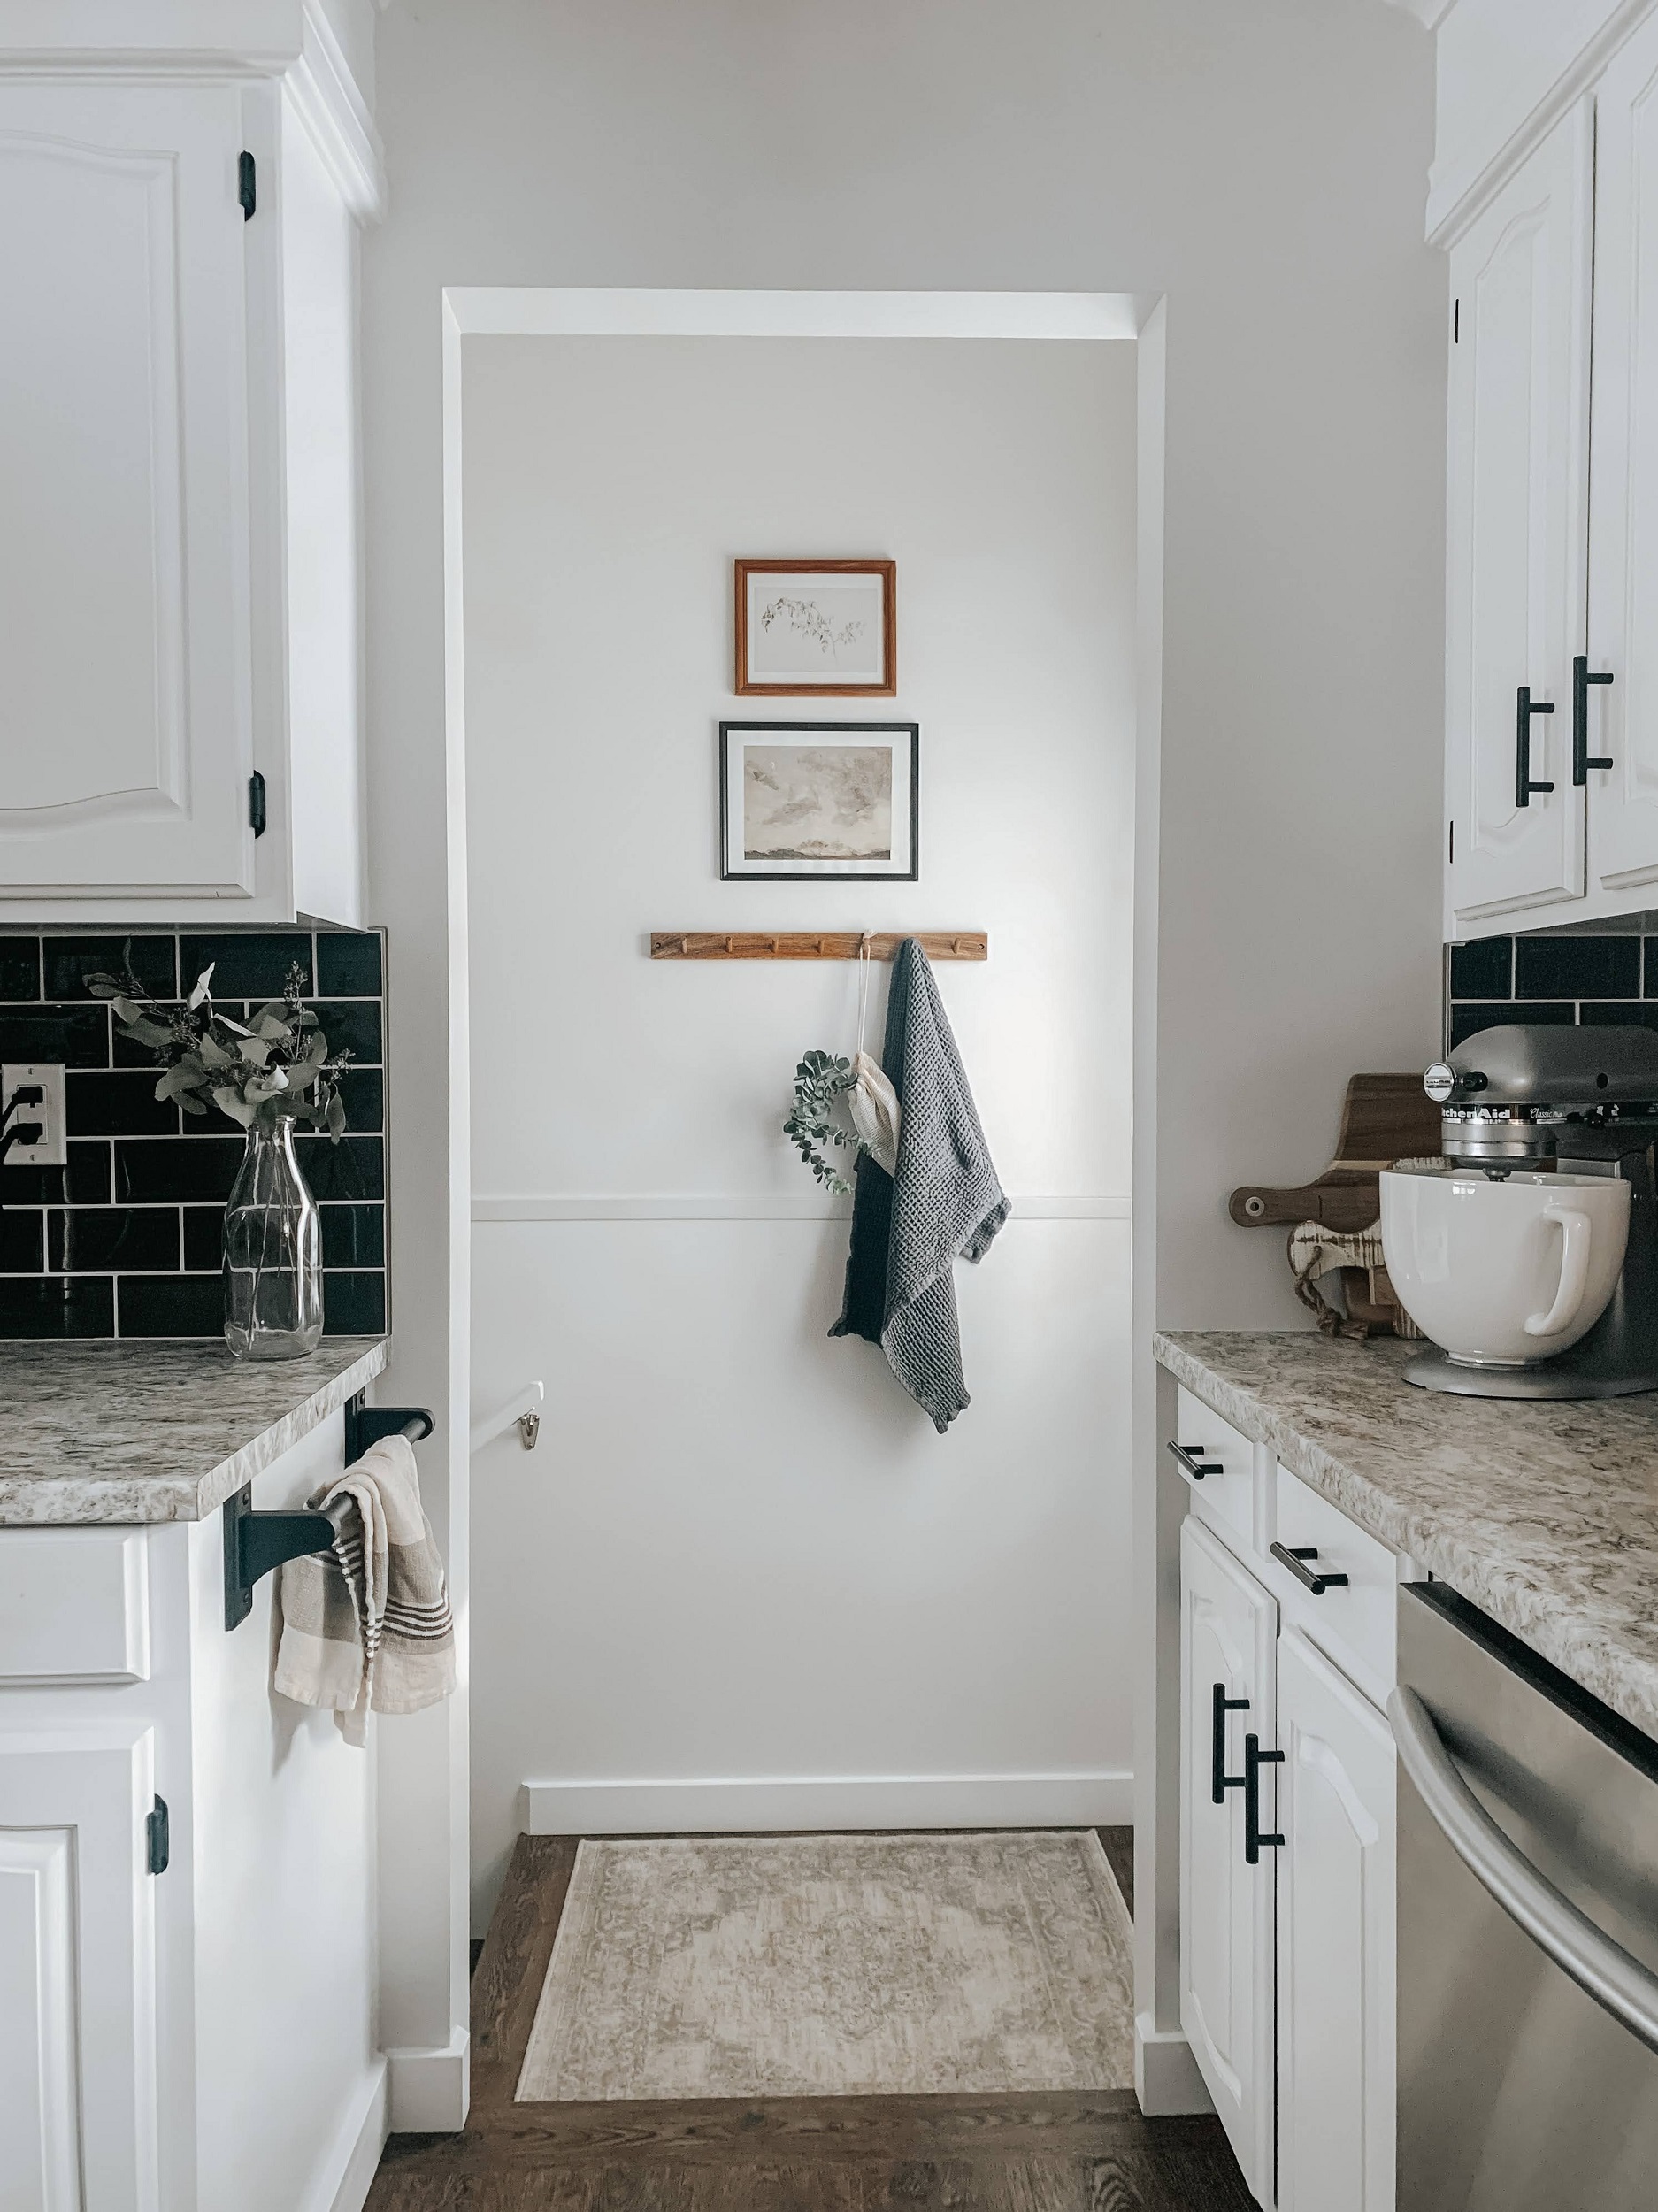
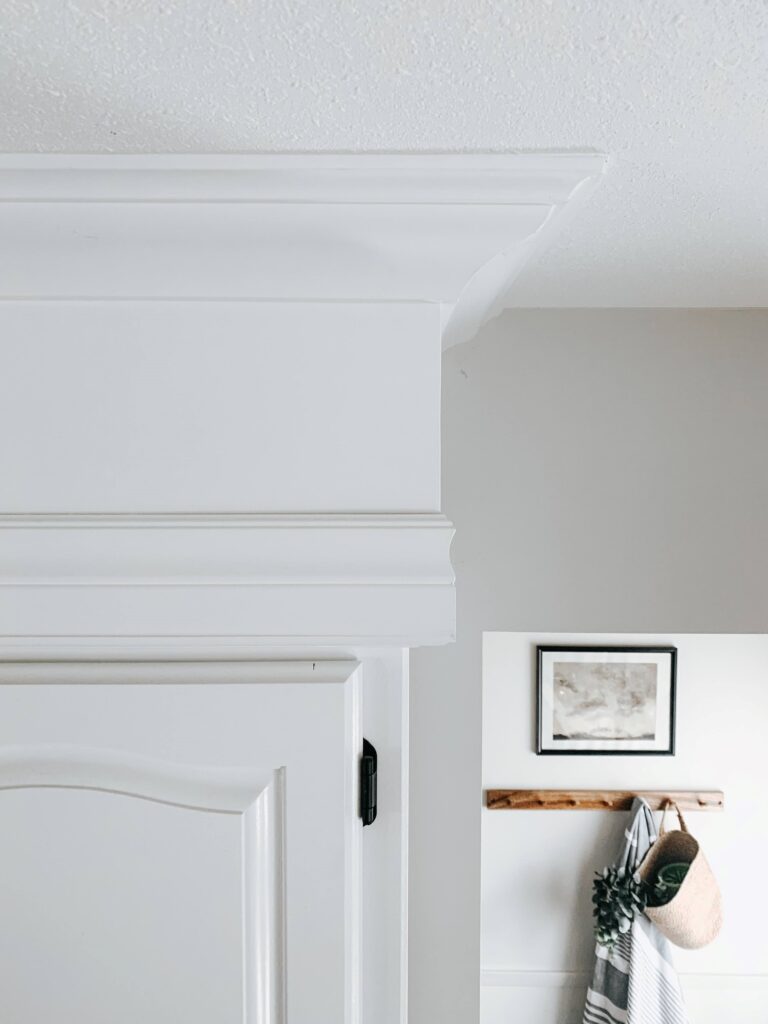
My favorite thing we did in our kitchen is the trim detail on the bulkhead over the cabinets. I mentioned this already in my Kitchen post. We added crown molding to the top and a baseboard flush with the bottom of the bulkhead. Then since the bulkhead had a slight overhang to the cabinets, we placed the smallest trim we could find, flat under the bulkhead to cover the seam between the bulkhead and the baseboard. Then we painted over it all with the same paint as the cabinets.
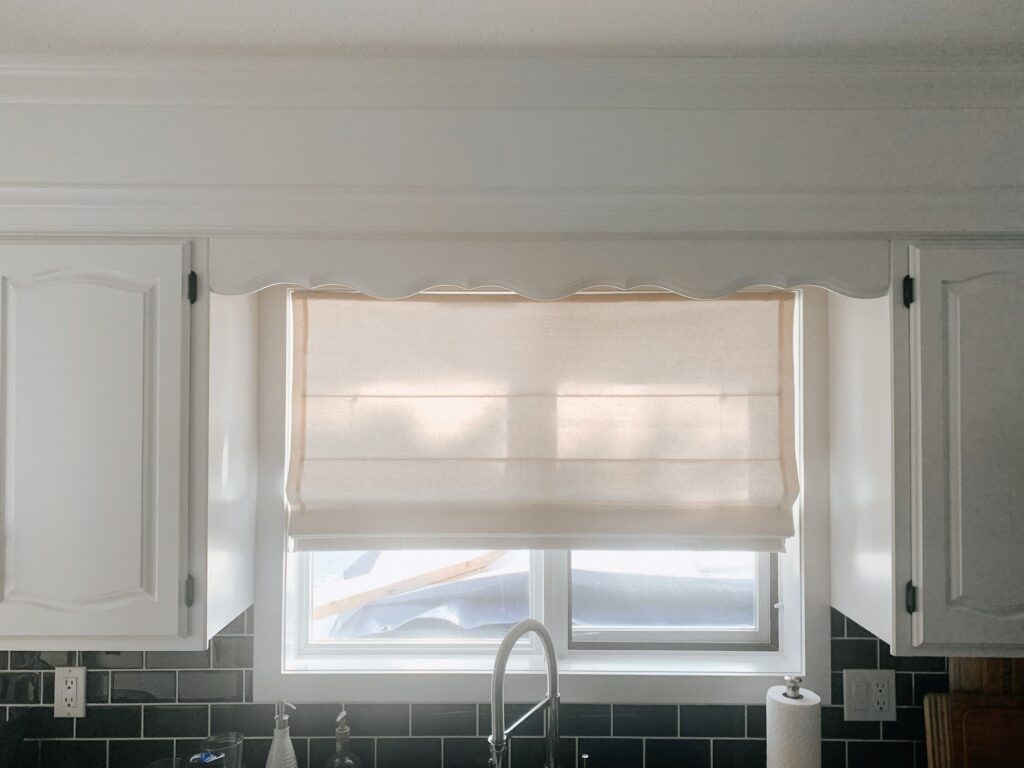
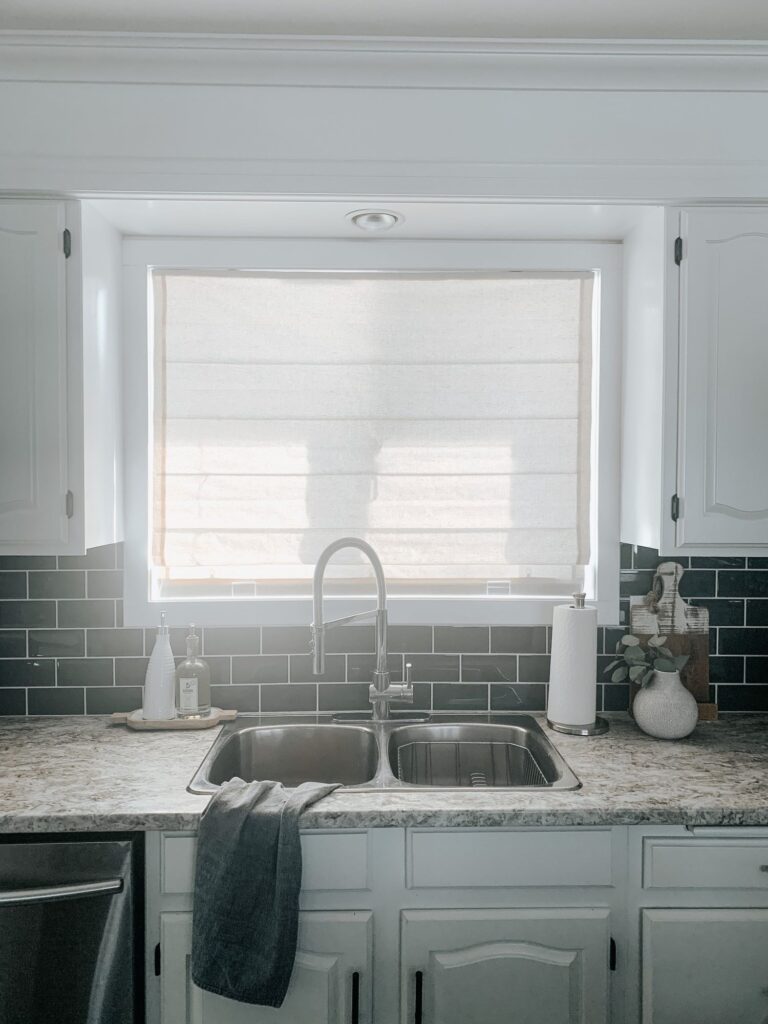
One of the more recent things we did, which I can’t believe we didn’t do right away, was remove the valance over the sink. It dated the kitchen horribly. I wanted it replaced while we were doing the initial renovations but got talked out of it. It had bothered me for years that we left it, so last year I took a hammer to it and it made a HUGE difference!
To summarize:
1. Remove doors/hardware.
2. Clean cabinets with a strong degreaser. May need to go over them several times. Sticky = greasy!
3. Very lightly sand cabinets with sanding sponge to rough up the surface.
4. Prime, we did 3 coats. Make sure to do any filling of holes/imperfections in between coats.
5. Paint, we did 2 coats.
My recommendations:
1. Use tsp as your cleaner.
2. Use good quality primer/paint. Will make a big difference in coverage and how well the paint holds up after.
3. Spray your cabinets/doors over rolling them for best possible finish (but will totally turn out great without one, the only difference is the finish!)
4. Once you’re finished painting, don’t close your cabinet doors/drawers all the way for at least 1 full week to avoid them sticking and pulling off your fresh paint.